Installing SimpleGAS
Getting SimpleGAS up and running in your Unreal Engine project is pretty straightforward. Here’s how to do it.
SimpleGAS requires Unreal Engine 5.2 or later.
If you’re starting with a Blueprint-only project, follow all the steps below.
If you already have C++ code in your project, you can jump straight to Step 3.
Step 1: Convert Your Blueprint Project to C++
Blueprint projects don’t come with Visual Studio solution files or C++ support by default, so we need to add a C++ class to generate these files.
- Go to File > New C++ Class
- In the Add C++ Class window:
- Choose None (Empty Class) or something simple like Actor
- Click Next
- Name your class anything you like (e.g.,
MyCppClass) - Click Create Class
- Wait for Unreal to compile the C++ code - this creates all the necessary Visual Studio files
- Once it’s done, close the editor
Step 2: Set Up Your Visual Studio Project
- Go to your project folder in File Explorer
- Right-click on your .uproject file and select Generate Visual Studio project files
- On Windows, you might need to click “Show more options” to see this
- Open the newly generated .sln file in Visual Studio (or Rider if you prefer)
- In Visual Studio:
- Set the build configuration to Development Editor
- Build the project (Ctrl+Shift+B)
Step 3: Add SimpleGAS to Your Project
- Download or clone the SimpleGAS repository and place it in your project’s Plugins folder
- If your project doesn’t have a Plugins folder yet, create one
- For example, if your project is at
C:\Projects\MyGame, place SimpleGAS inC:\Projects\MyGame\Plugins\SimpleGameplayAbilitySystem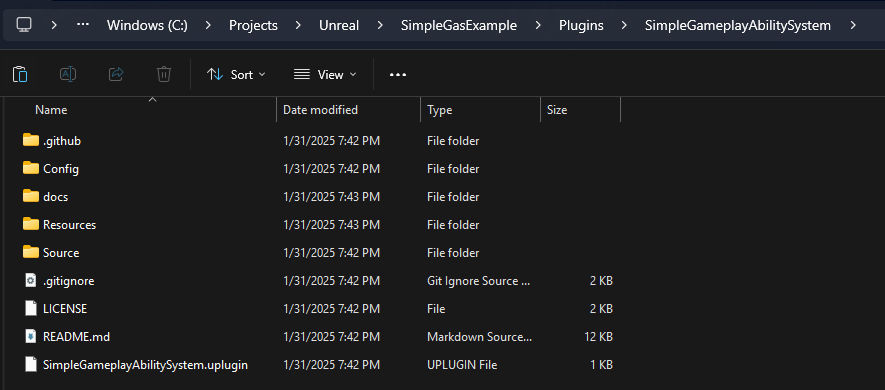
- If you downloaded the repo as a ZIP file, the name of the file will have
-mainattached to it. It’s important that the folder is named correctly so remember to change that! i.e.C:\Projects\MyGame\Plugins\SimpleGameplayAbilitySystem-mainshould be renamed toC:\Projects\MyGame\Plugins\SimpleGameplayAbilitySystem. You don’t need to do this if you cloned the repo using Git.
- If you downloaded the repo as a ZIP file, the name of the file will have
- Rebuild your project and launch the editor
- The plugin should be enabled by default, but you can verify by going to Edit > Plugins and searching for “SimpleGameplayAbilitySystem”
That’s it! SimpleGAS is now installed and ready to use in your project.
Note from the dev: I haven’t tested this on Mac or Linux as I don’t have machines running those on hand. If anyone can supply steps/screenshots of the process as a PR on the project it would be much appreciated!
Having Trouble?
If you’re encountering issues, drop a question on the discussions page.